
I’m so excited that I recently purchased the Angie’s Falls stencil from Alabama Chanin! It features prominently in Natalie’s second book, “Alabama Studio Style”. Buying Studio Style back in 2010 was my first introduction to Alabama Chanin and I have dreamed of Angie’s Falls ever since. The book features several techniques with the stencil, but the one I’ve always been attracted to and wanted to try is relief applique. Basically, it’s where you sew on shapes which are 15% larger than the shape on your garment, and it gives the applique some great texture.
In addition to the stencil, I also recently acquired my first airbrush gun and compressor. Someday I’ll tell you the story about why this is so special to me. I first tried out the airbrush on paper but I decided to graduate to fabric pretty quick – not because I had mastered the technique, but because I couldn’t wait!! I decided to make my first try on something small … a scarf. I picked the skinny scarf (12” x 54”) in Dove.
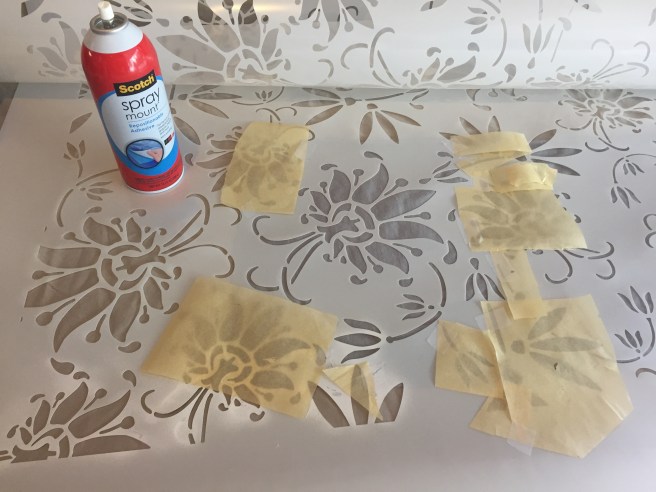
I taped off some of the stencil so I just got the shapes I wanted. This was my first time using spray adhesive and I can’t tell you how important it is! Making sure the stencil stays in place and your lines are sharp depend on it. Also, regulating the airflow is an art and I’m not there yet. If I come up with some good tips, I’ll be sure to share them in a future post.
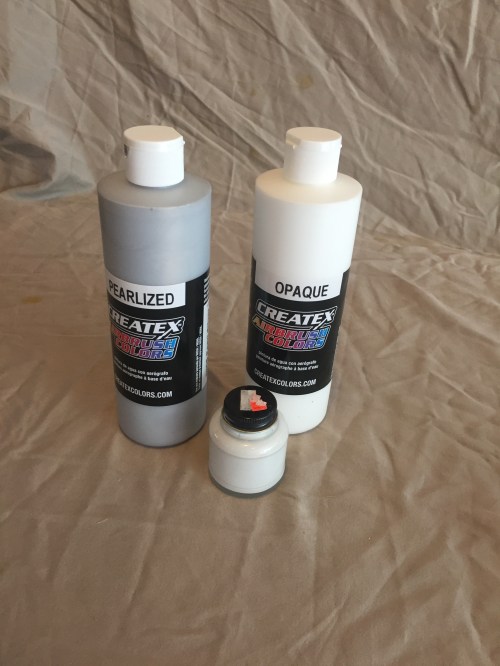
Then I had to pick a paint color. Note: this was my first time trying this so I’m just winging it. I wanted a silver metallic, but I wanted it light and subtle so I mixed silver and white in equal amounts.

I wasn’t sure yet what technique I wanted to use on the scarf, but once I saw my finished product I know it needed a boost. The paint color I chose blended too closely to the fabric color and I was a little light on the paint and inconsistent. The stencil didn’t really stand out. I consulted the design variations in the back of Studio Style and realized, here’s my chance to try relief applique. But that requires an extra step.
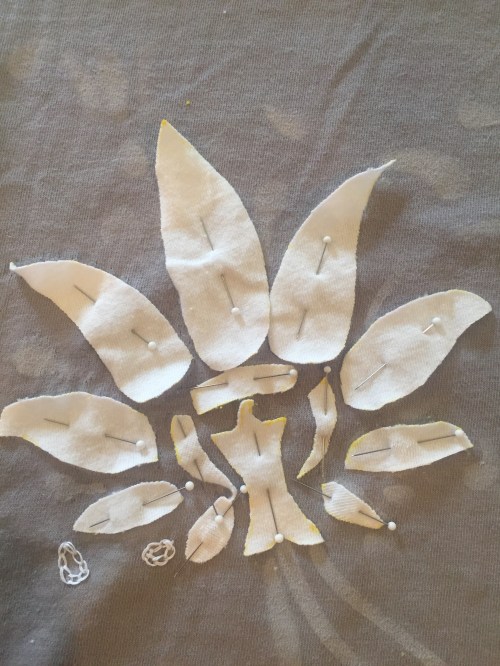
I needed to make my own stencil from the Angie’s Falls that is 115% of the original size. So I first drew the stencil on a piece of paper and enlarged it on my copier. I had a piece of craft store thin mylar which was easy enough to trace my enlarged design on and then I cut it out with an xacto knife. Then it was just a matter of transferring the enlarged shapes on some scrap white fabric and cutting out the shapes, pinning them on the airbrushed shapes and parallel whipstitching around the edges.
Here are the lessons I learned doing this project:
- You need to do a good job cutting out your enlarged shapes. I cut inside my edging and my shaped didn’t turn out large enough. I’m going to go back and cut away a little more on my stencil. If I had it to do over again, I may have enlarged by 20%
- You want to mark your fabric on the wrong side of the fabric, but you need to make sure you flip your stencil over to it’s wrong side as well. I didn’t the first time and my shapes didn’t match when I turned them to the right side
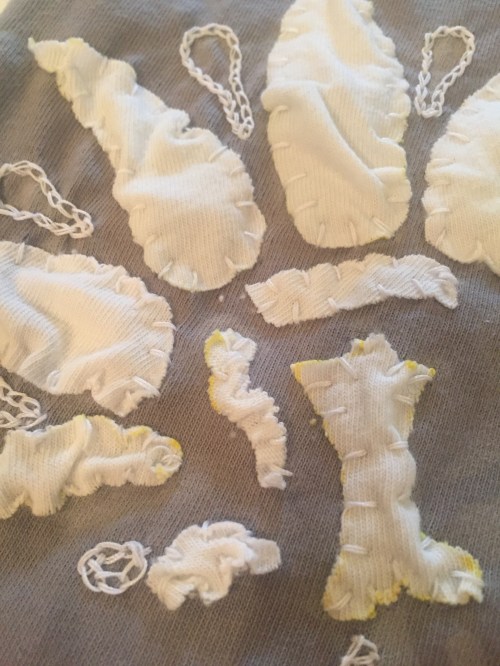
- Careful what you use to mark your fabric. Since I was marking on the wrong side I didn’t think it would matter and used a yellow permanent marker. When you start your parallel whipstitching the edges curl up a bit and that underside shows a little
- I didn’t heed Natalie’s advice to pin down the edges to align with the smaller corresponding shape. My first couple of shapes turned out a mess and I had to redo them. I was trying to create the relief myself and things didn’t line up correctly. I guess to sum up … follow directions and don’t take shortcuts. Let the ironing do the work.
I did have to cut off the top of one of my pieces because there was way too much yellow showing. I decided to add some beading where the shape would have been.
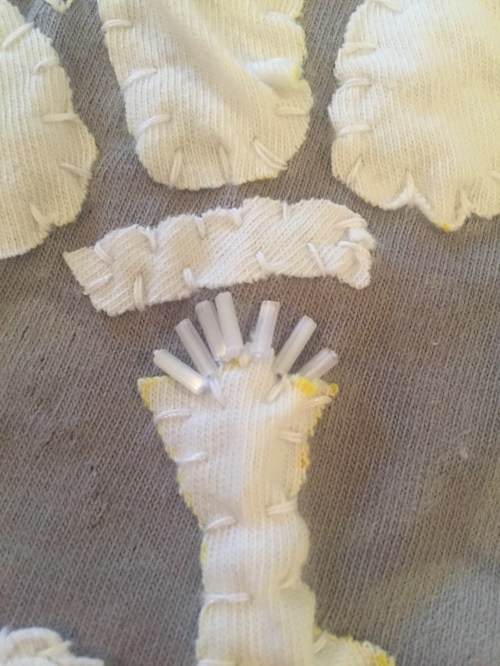
I finished up by chain stitching around the smaller shapes and even some of the larger shapes. I wanted to big flower to be the star.
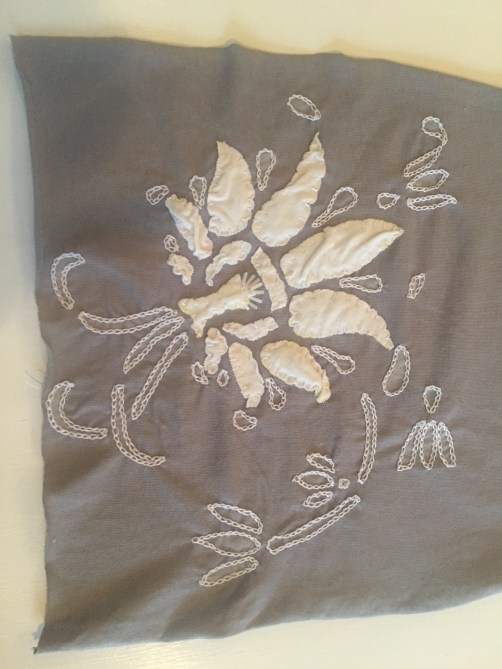
That said, I may add more beading inside some of the smaller shapes sometime in the future.


I hope the weather gets cool enough so I can wear this outfit soon.


One thought on “Relief Applique”