
Back in my 2025 Me Made May Week 1 video I mentioned that a new project I was starting was making a robe Alabama Chanin style. I’ve been needing a short summer robe and although I would love a silk robe, my wallet would not love that. So, since I still have some AC fabric in my stash, I had it in my mind that I could make one. I didn’t get serious about it until I found a robe pattern at my local thrift craft supply store – Scrap RVA. For 60 cents I was able to buy a used copy of McCalls M7297. Even better, the pattern has a decorative border which I realized I could do something fun with.

Well here I am, seven months later and I’m finally finished
Design Choices
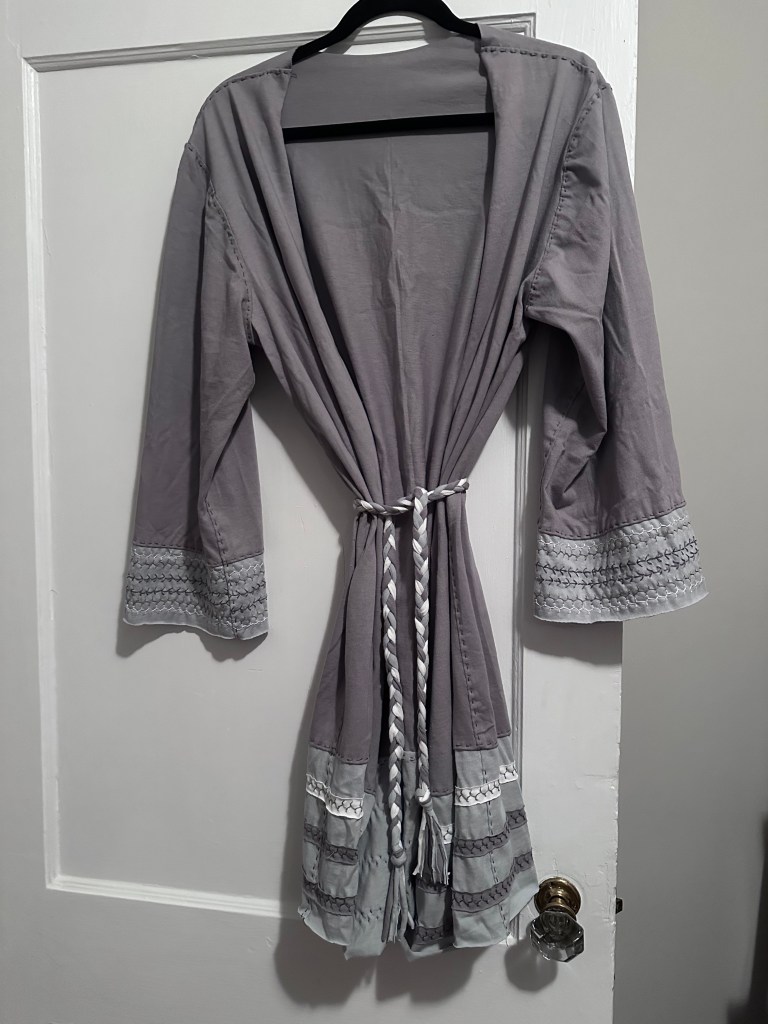
Top Layer – Dove
Border Layer – Light Blue
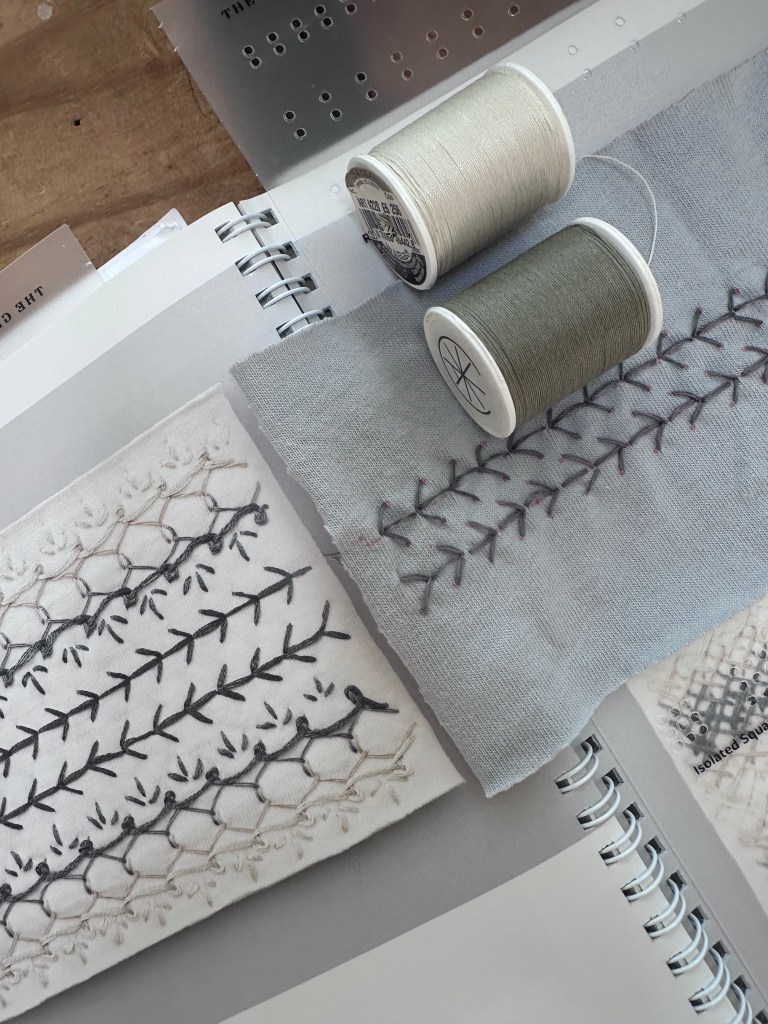
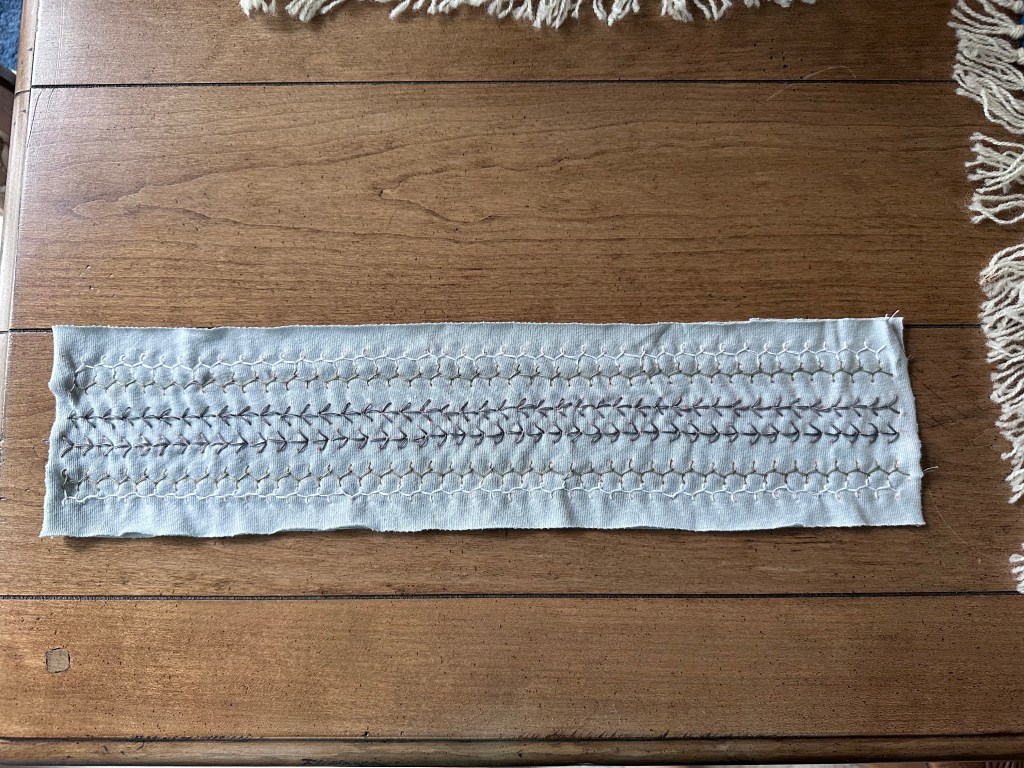
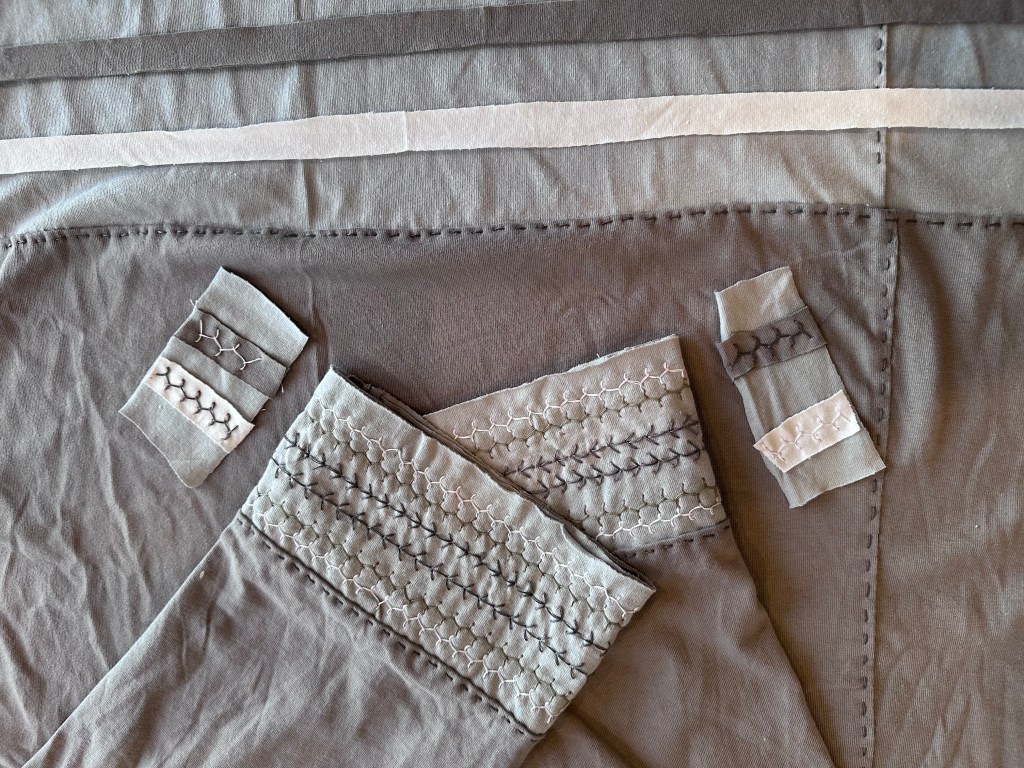
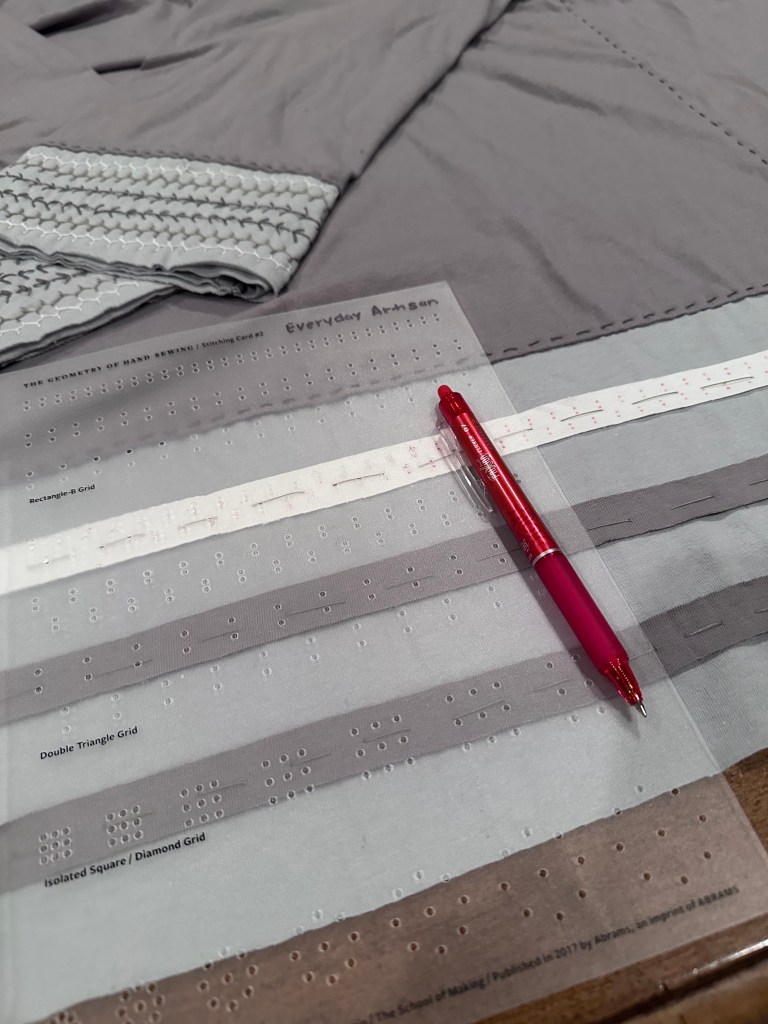
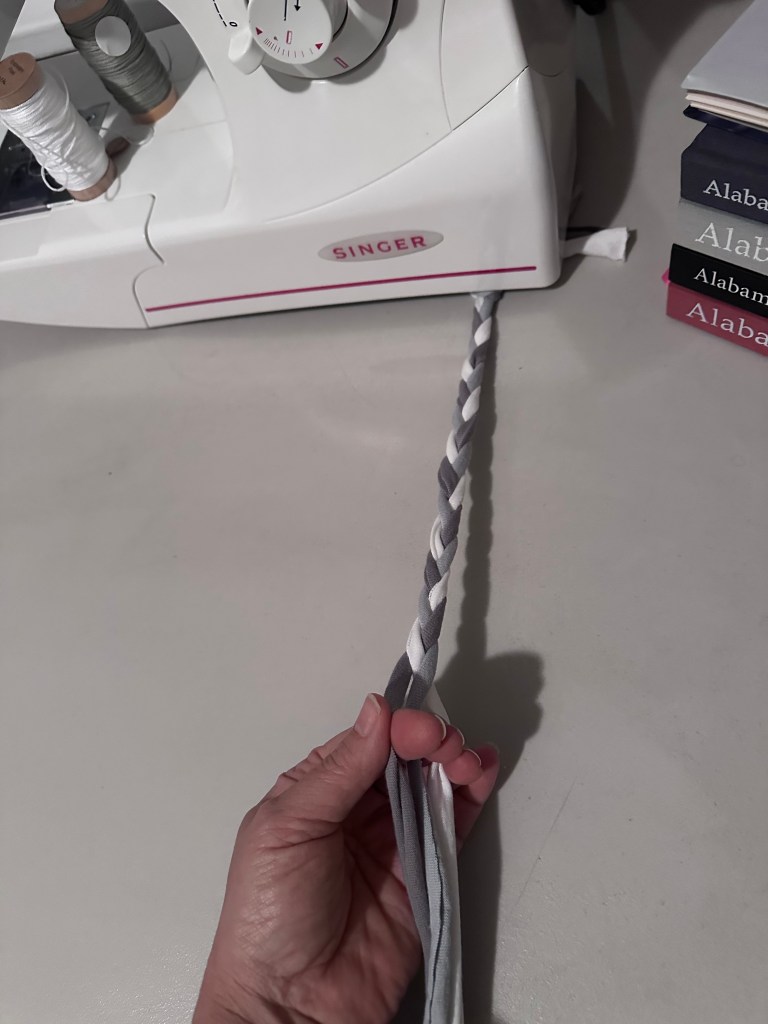
Technique – For the stitching on the sleeve border I used page 130 of the Geometry of Hand Sewing as my inspiration. All thread is button craft from Alabama Chanin. There are two rows of Fern stitch going opposite directions in Slate surrounded by rows of Interlocked Cretan stitch in Sage and White. For the 3/4 inch stripes on the bottom border I used one White stripe and two Dove, all attached with Sage thread in the Cretan stitch. For the belt, I braided a stripe each of Dove, Light Blue and White together knotted at each end and trimmed to have a fringe.
I started just by cutting out the sleeve borders and working on that embroidery. For both the Fern and the Cretan stitches I needed to use the guide in the “Geometry of Hand-Sewing” book because I felt it was important the stitches were uniform.
I wasn’t able to do some of the more decorative stitches from the inspiration because I wanted to make sure all beginning and ending threads were between the two layers since I thought the wrong side would be as visible as the right side since the sleeves are quite wide at the bottom. I still need to learn how to bury my tails. I was stitching off and on very sporadically for a couple of months so it took a while to get the two borders done.
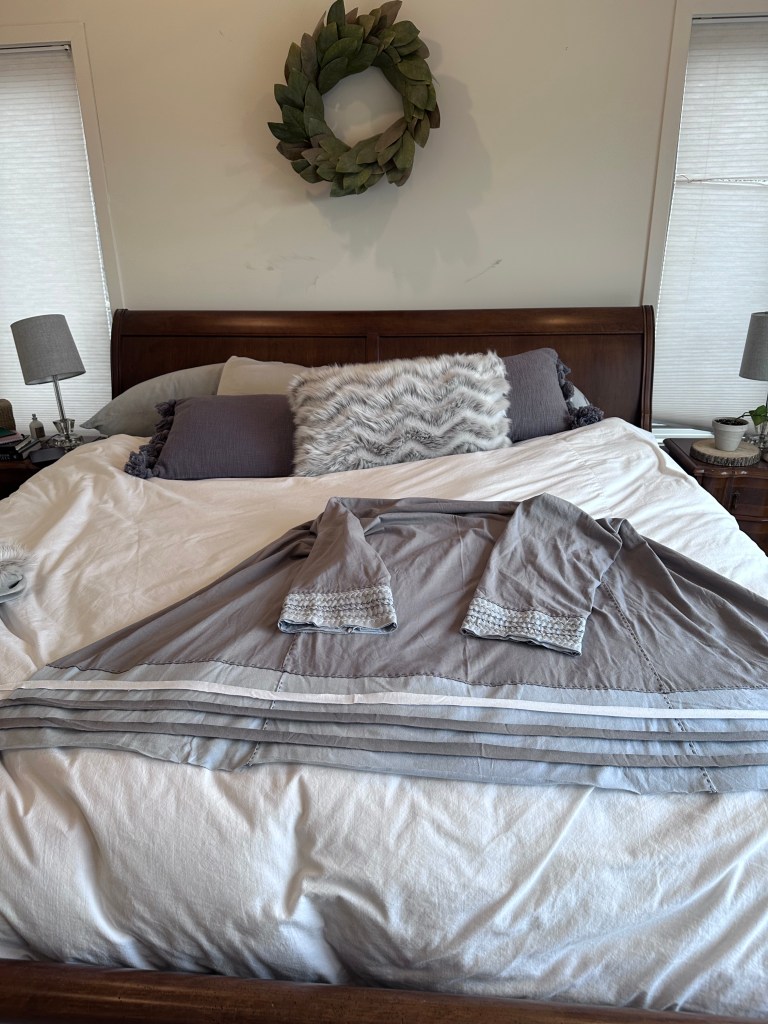
It was pretty quick work to assemble the pattern pieces. I originally was planning to leave off the bottom border and make it a short robe but once I tried it on it was a little too short. Here’s a link where I tried it on and you can see where the Dove fabric ends. https://youtube.com/shorts/WW3SdYDX2BQ

Once I added the border on the bottom, it was way too plain compared to the sleeves so I figured I should do something with it too. It would be too hard to do the same technique as the sleeves – both because of the size and because it was already attached. I suppose I could have taken it off to work it up but that seemed like backwards instead of forwards.
*Note, the scarf was just added to keep the robe closed for this picture. The scarf is Dove with White Angie’s Falls relief appliqué – my first time trying that technique. There is also some chain stitching on the stencil – this scarf was a true experiment as it was one of the first things I ever airbrushed. Here a link to the blog post I wrote about the scarf and the lessons I learned about relief appliqué.
Some of my favorite pieces of Alabama Chanin are from years ago when Natalie was using stripes attached with the Cretan stitch – I believe it was the 2010 Spring Ready-To-Wear
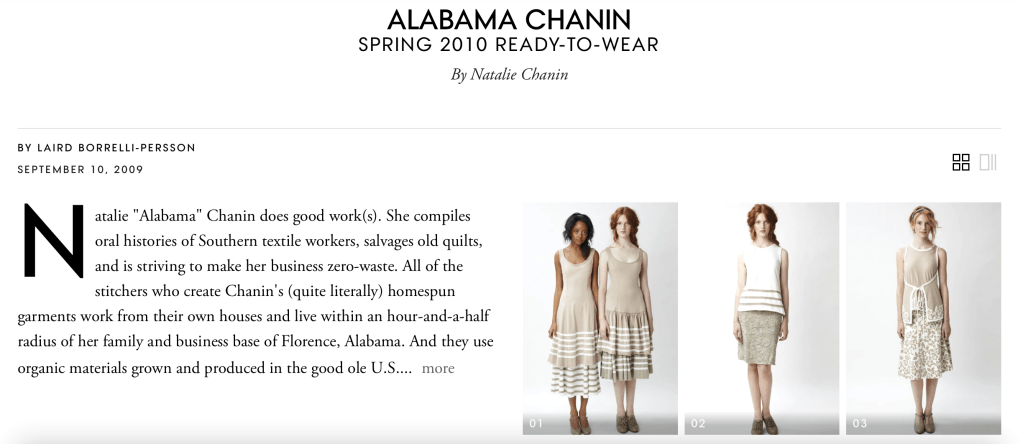
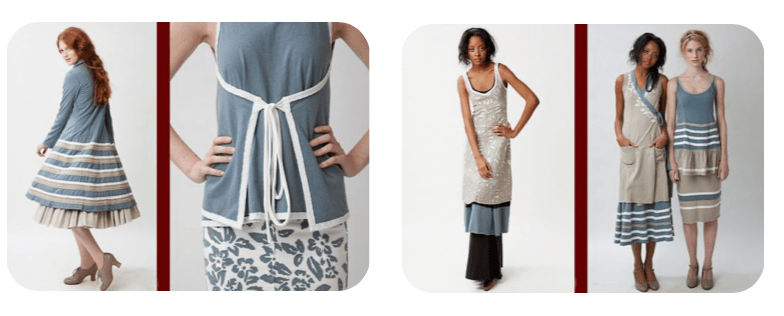
So I decided to see what stripes would look like on my border and I love them! I kinda wish I had thought of them before I assembled the robe because now they were going to be pieces 54″ long to attach.
It took me a while to decide which color thread I wanted to use on the stripes. I even made up a few samples to decide if I wanted contrasting stitches or blending – in the end I decided to use Sage thread for both the White and the Dove stripes.
Since the stripes were so long, the first thing I needed to do was to baste them to the robe, measuring as I went to make sure they were straight
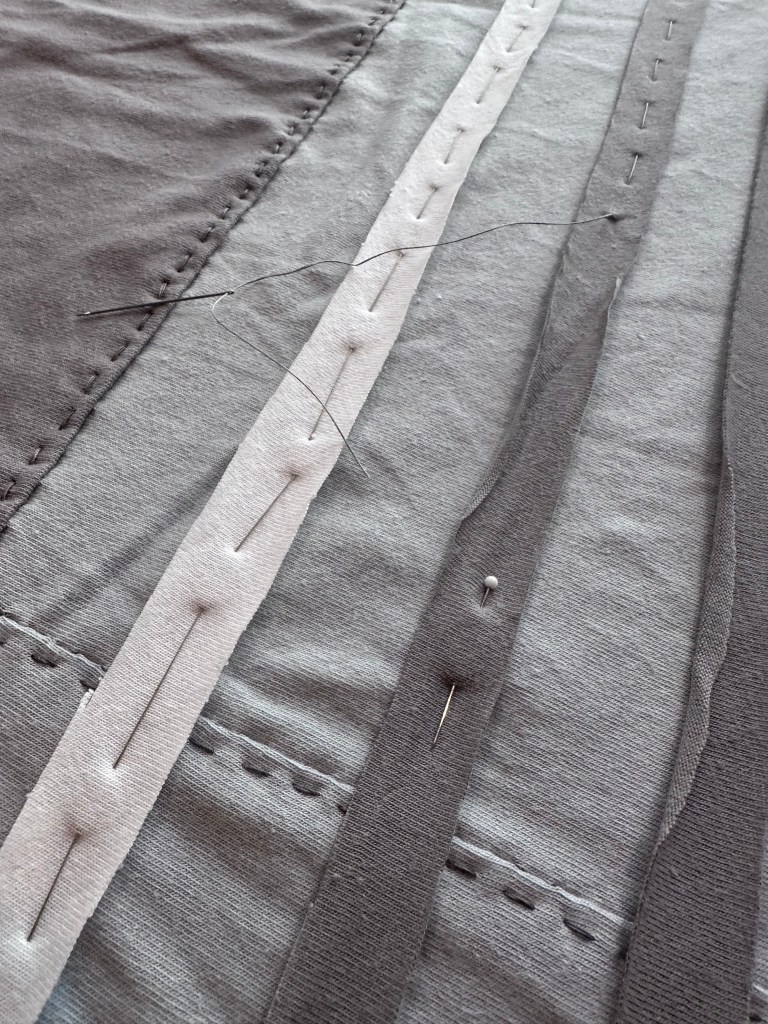
Then I had to use my grid guide to mark where to make my even Cretan stitches using an erasable pen
Then it was down to work and stitching away. I uploaded a YouTube short with a time lapse of some of my stitching https://youtube.com/shorts/WW3SdYDX2BQ?feature=share
Once that was finished I actually wore the robe some before I realized it needed two more things: a belt and loops to keep it closed and a inside loop to be able to hang it on my bathroom door. To make the belt, I just braided some extra scraps of Dove, Light Blue and White I had laying around
And I don’t have a picture of it but I actually used those stitch samples I made for the stripes to attach as the loops. So now it can hang right next to my towel and I can grab and go
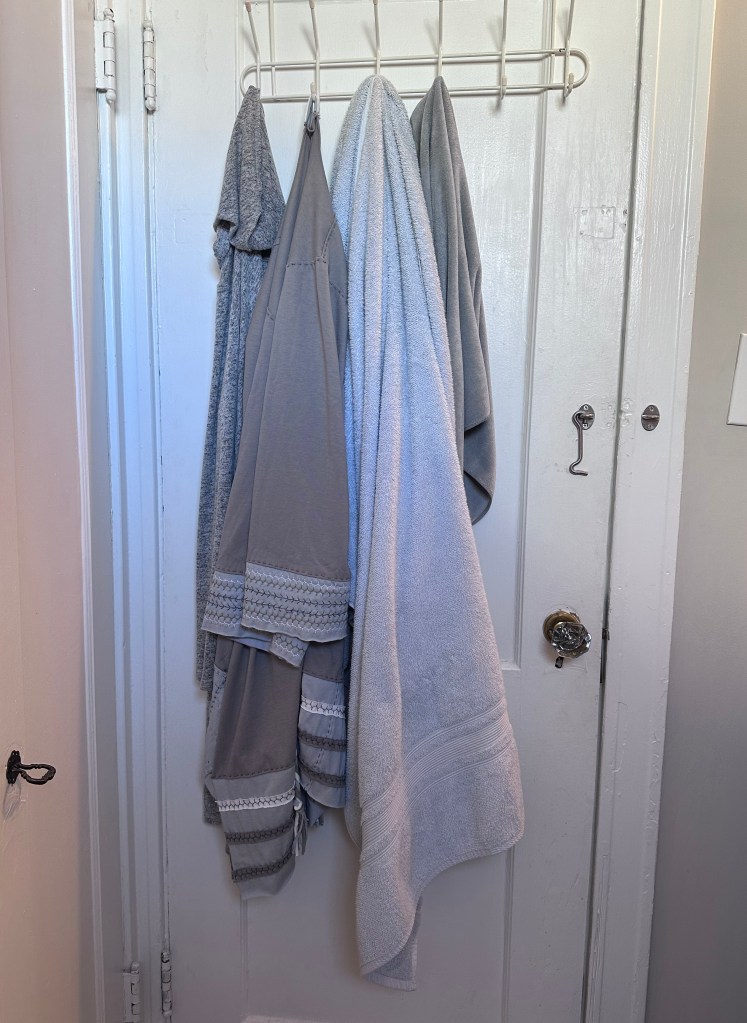
I’m counting this one as a success. You’ll probably never see it in a “Me Made May” post, or any other pictures, but I will smile every time I put it on after a shower.
