
Sometimes, it’s the unexpected finds that are the best. One of the treasures I discovered when I visited The Factory last November was a beaded and ruffled clutch. I didn’t discover it until the last day as it was quietly sitting on a shelf of fabric scraps. I think that’s one of the things that makes it so magical – I could make it from some of the fabric scraps I had.

Also kind of magical, Alabama Chanin shared the instructions how to make it on their blog. Crazy to think the blog post was in May 2014. Since the instructions are on-line, this blog post is mostly going to be my photos.

First I made the ruffles. The instructions didn’t say how to cut the fabric (other than 1 1/4″ wide), but I cut them with the grain because I wanted them to roll away from the “right side” of the fabric … also, that worked best with the fabric scrap I had.

I measured and chalked the lines where I wanted to baste my ruffles.
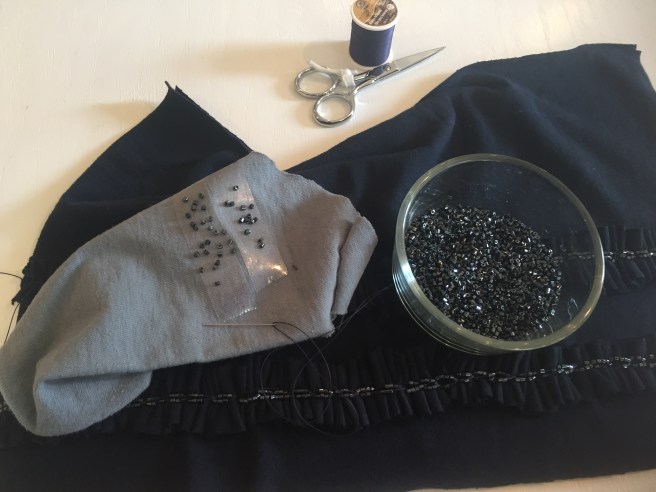
I added the Dark Grey chop beads with a chain stitch. The instructions call for a zig zag chain but I was more concerned with trying to stay centered so my zig didn’t zag.

Notice the two threads hanging out. The knotted thread was what I used to create the ruffle, and the other is the thread I used to baste the ruffle to the fabric.

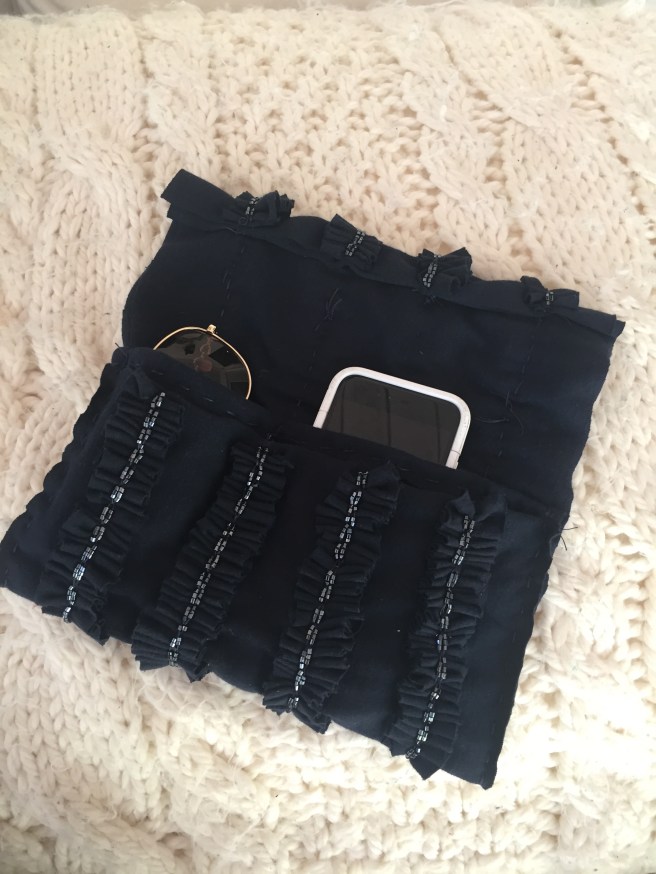
I cut the pieces to create the pocket and ironed them both down the middle wrong sides together.

Sewed in the pocket.

Put the binding on top of the pocket.

Then it was just a matter of straight stitching up the sides and tacking down the ruffles on the top.

Viola, its going to look great with my walking cape.

It looks great with my facets dress!

This was a great and relatively quick project that I think I’ll get a lot of use out of. A definite treasure!

One thought on “DIY Clutch”