
A couple of months ago, I saw an Alabama Chanin post on Instagram where they were having a community day, and they had an activity set up where participants could use 4″ x 4″ squares of their organic cotton, both plain and stenciled, to try their hand at hand stitching. What a great opportunity!

Like most Alabama Chanin ideas, I loved it and I wanted to make it my own in some way. At that same time, a great friend of mine who is a personal stylist, Kathy Bogaz with ReVive, was coming to me for sewing advice on how to make Lavender Sachets. Together we visited, Lavender Field Farms to buy lavender and get ideas. That’s where the idea came to me, the 4″x4″ squares are the perfect size for a sachet.


Our field trip to the Farm
I got to work stenciling fabric and learning how to use a rotary cutter (which is fabulous!) and have made my own DIY hand stitched lavender sachet kits. The kits include one piece of stenciled fabric, two plain pieces of fabric, 5 yards of thread, a needle, a stitch length guide and a card which talks about the uses of the sachet.

Unfortunately, I couldn’t help everyone who bought a kit at the time I saw you, so I promised that I would put up a tutorial. Here is my attempt. I had quite a bit of trouble with the size of the video’s so I ended up uploading them to YouTube. I hope this works. I also want to warn you this is my first attempt at something like this (a video tutorial), so please forgive me all my jumping around and my Ummm’s!
Sachet Tutorial – 1 – Negative Reverse Applique stitching
Sachet Tutorial – 2 – Negative Reverse Applique cutting


The first picture is right after cutting away the negative space and the second picture is after I cleaned it up with sticky tape … and look how much fuzz was on the tape.
Sachet Tutorial – 3 – Reverse Applique
**I apologize, I just want back and watched this and realized I was calling this negative reverse appliqué at the beginning of the tutorial.

With reverse appliqué it’s much easier to stitch because you only have to follow the lines, but it’s more difficult to cut away the small insides of the shapes. That’s why I like to pre-cut a little inside the shape before I pin the layers together.
Sachet Tutorial – 4 – Making the sachet cover
And voila, a great way to try your hand at hand stitching.


If you are interested in giving it a try and didn’t get a chance to purchase a DIY kit from me, let me know. I still have kits available at my house and I am happy to deliver.
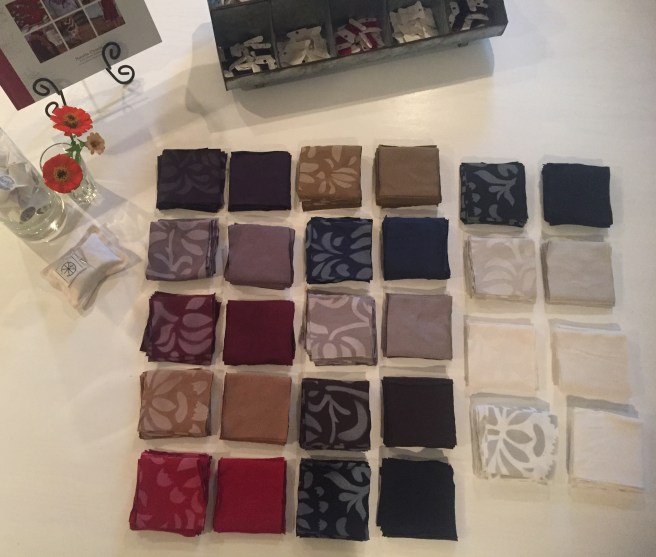
I also have samples of some other squares and sachets I’ve sewn

Plus some pre made unstitched packaged sachet sets that make a great hostess gift over the holidays

I hope these tutorials helped and I promise I will get better at it 🙂 ~Sue
