
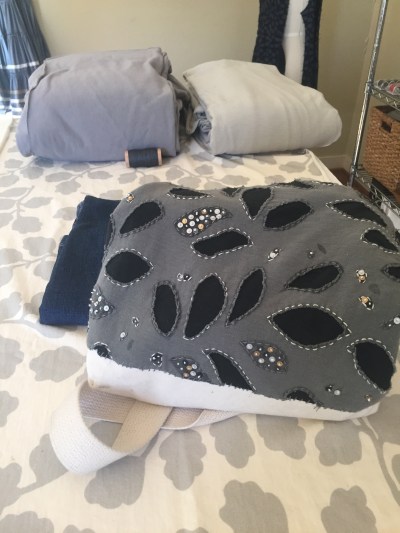
My fascination with Black and Navy continues. After making my latest dress and bolero I decided it would be nice to make a tote to match. A tote is a small commitment with a big impact.
Several years back, my sister embellished the totes we received at our weekend workshop at the Alabama Chanin Factory and she uses hers as her purse. What a fun way to put a little bit of your craft in your everyday.
Here’s a picture of my sister’s tote. Note a great view but we were trying to color match for her next project.

Here’s a picture of the tote she made for my Mom. I wish you could see the other side where she couched on the word “Love”. Mom is also wearing the boa I made her.
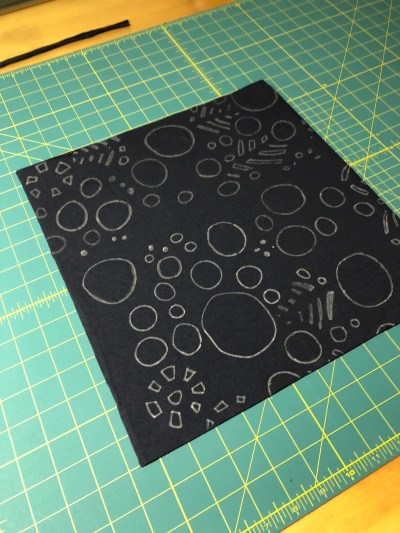
I had purchased the June’s Spring stencil a while back and I think a tote is the perfect sized project to try it out. It has a lot of detail and can be worked up with a lot of different techniques and beading, again, perfect for a smaller project. To determine the size I would need, I just went to my local craft store and bought a black tote and used it’s dimensions 13″ x 14″.
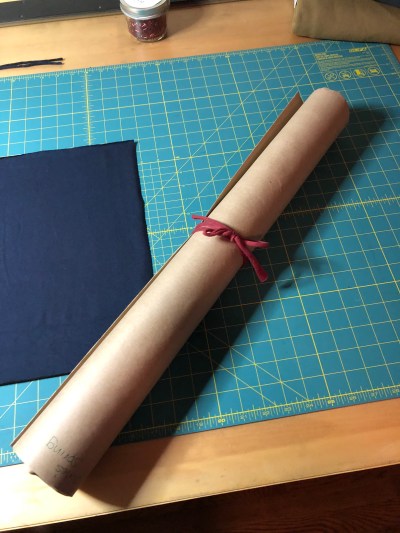
I store my stencils in the same shipping tubes I received them so I definitely need to weigh down the edges.
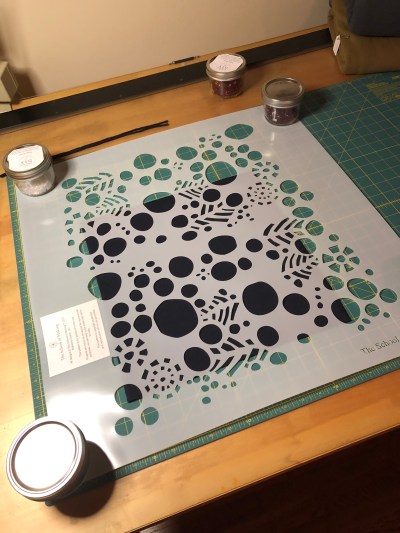
The June’s Spring stencil is pretty small in area, about 18″ x 22″
Here’s the catch, it’s been cold in Virginia and I didn’t want to pull out the airbrush in this weather, so I decided to use a silver Sharpie to outline the shapes.
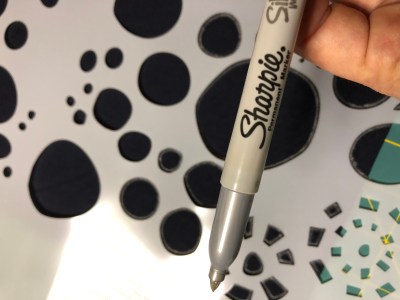
I actually loved the way it turned out, but phew, did it smell bad. I had to use two different Sharpies because the first one started to dry up a bit half way through.
I didn’t do a very good job of taking pictures of the embellishing process. I will say this, it was a bit daunting to decide how to approach each shape. Here’s where Pinterest and the Facebook stitch-a-long group come in handy. There are some great examples out there to be inspired by. I did decide to try and keep it simple only using black and grey thread and repeating techniques quite often.
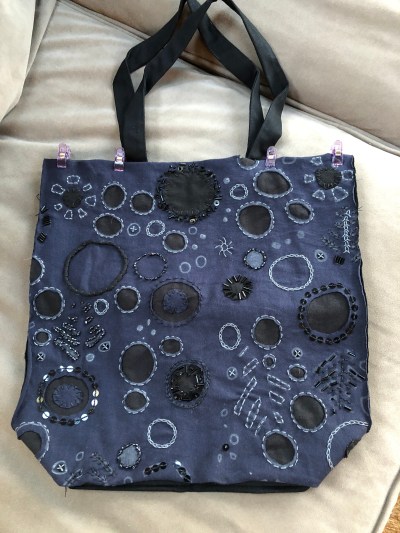
The next step was easy enough, I just went around the edges using a parallel whipstitch. It was a bit tricky because the tote’s corners angled in, but I just folded in the swatch and tacked it down from the inside.
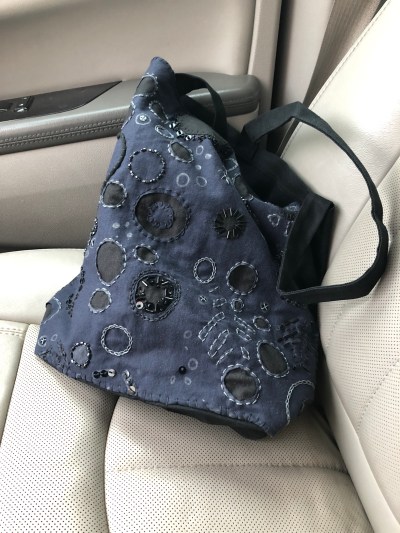
I couldn’t wait and took it out as my purse the very day I finished it. The straps are not as long as I was hoping but it actually makes it work better as a purse – it seems more secure. I think to make it more functional I will add a pocket for my keys. I may even get fancy and add some type of appliqué to the back.

Now I want one in every color!

I love your tote. I made a couple as gifts a few years ago, but didn’t photograph.
LikeLike
Thank you! I think this may be what I make for Christmas gifts next year.
LikeLike
The bag is fabulous!
LikeLike