
It’s hard not to view the images of the Alabama Chanin Flag and not be inspired. When I was at the factory, I coveted the flag they had on display.
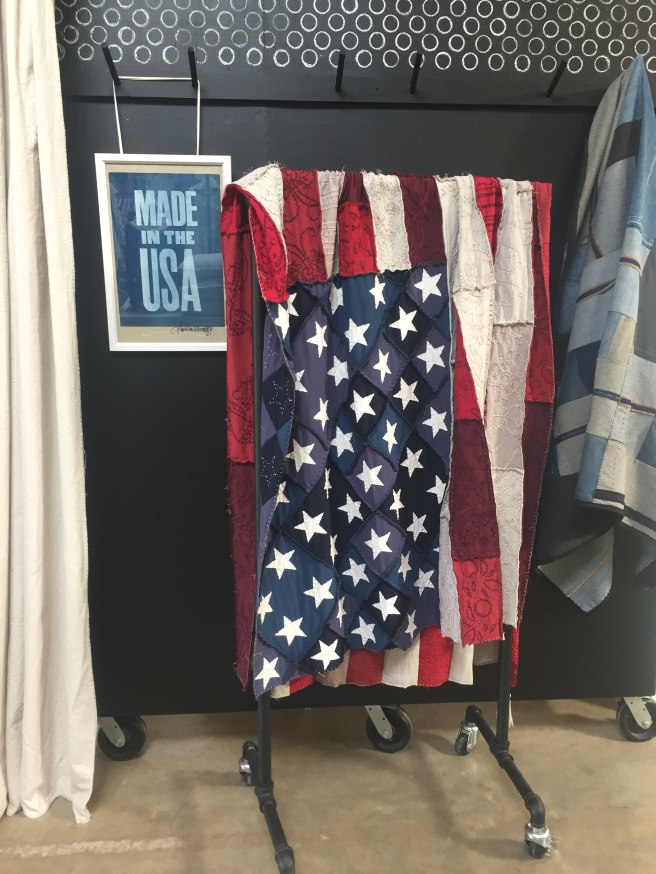
Then last December Alabama Chanin announced in their journal they decided to discontinue this version of the flag quilt DIY kit. It was hard to bite the bullet because even the kit was expensive, but I knew I would regret it if I didn’t go for it.
I had so many other projects on my table that I didn’t get around to even opening the kit until July, when it’s hard not to think about Old Glory. First, I went to another AC journal post and printed out the instructions they posted if you want to make the whole flag from scratch (instead of a kit). This gave me a handy map to follow about which square goes where. All of the scraps come labeled, but I’m a visual person so the map really helped.
When I first started laying out all of the pieces, I became a little overwhelmed. I didn’t realize the flag was so large (106″ x 62″). The one I had seen at the factory was folded up. This was going to be a HUGE undertaking.

The best part was many of the pieces were in stencils I had never seen before, much less worked up. A pig, a fish, and one called “moths” that looked like bats to me.

I got to try text for the first time, it was called “poetry” and I loved it. Then there was this crazy stencil …

The stripes pieces are all 5″ tall but vary in width so sometimes I could work up more than one in a day, and some took several days to finish. I decided to work up each piece in reverse appliqué. I felt keeping the weight of the pieces consistent was going to be best for durability. It was slow going but so satisfying as I was making progress.

I did each individual piece on the top part of the stripes first and then assembled each row, and then sewed the rows together.
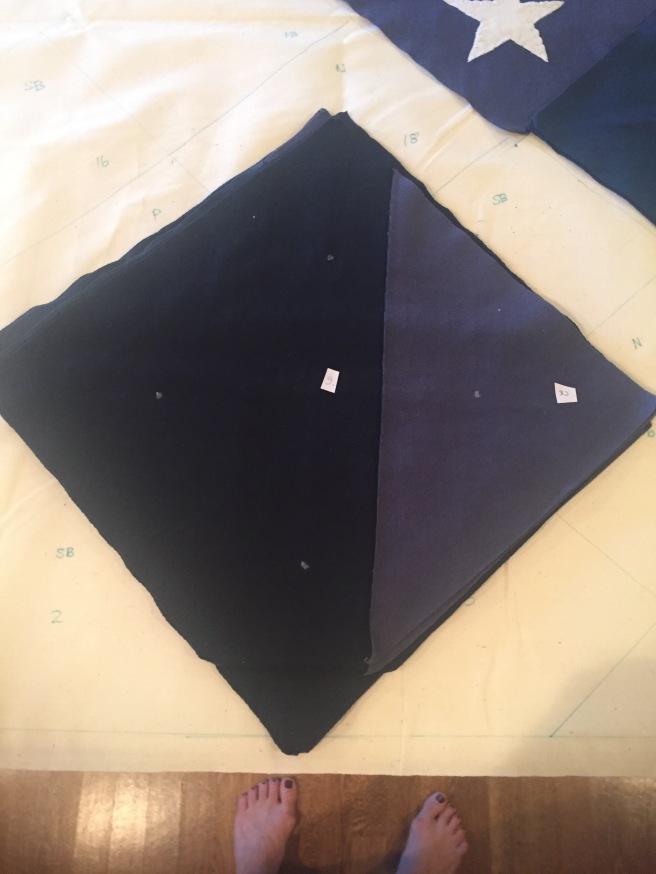
Then I needed to mix it up so I moved on to the stars. AC does a great job guiding you along with the labels but I decided to make a map on a piece of muslin so I could always know which star I was working on when, to make sure I kept my grain lines always going in the same direction. The blue squares were marked with a white dot in the center so placement was easy.
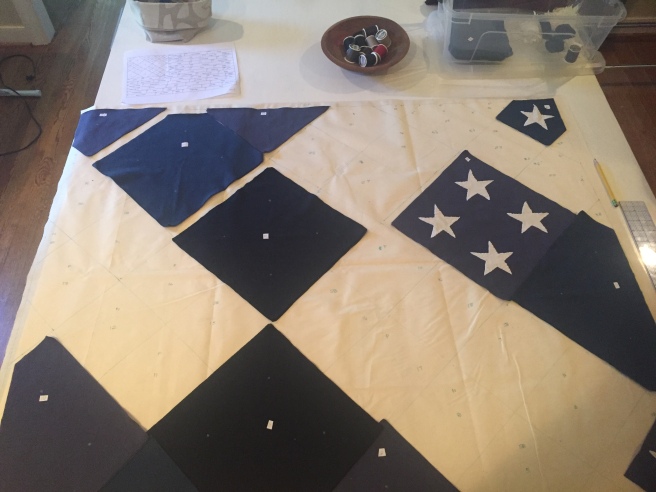
I took the time to measure what each square so I can recreate the flag on my own.
Then started to appliqué each star into place.

The stars worked up a lot like the stripes in that I would do a row at a time and then assemble the rows. The difference was that the rows were on an angle.


Once I was finished with the star field, I sewed it to the top stripe field.

At this point, although this project was pretty much consuming me, I had to press on. I was going to have a booth at RVAMakerFest at the beginning of October and I really wanted to be able to show this off…. and I wanted my dining room table back.

I just put my head down and powered through. All in all, I think I figured it took about 250 hours to finish the project.

And I finished just in time!

Would I do it again? In a heartbeat for the right reason. I love the reason that an internet friend of mine had. She got several women in her stitching group to work on the flag together out of old t shirt scraps they had. Then they raffled off the flag and gave the $3,000 raised to their local Veteran’s group. That is the right reason!
Check out her blog post about “helping hand made” here. If anyone has a local group that wants to do this, I can help facilitate.

Nice job Sue! I am impressed! Thanks for sharing the process!
LikeLike
I’m impressed because our first flags were lovingly stitched and I watched you do the same! It was neat to see all the people drawn to the flag at your booth. And it helps to have a deadline – otherwise we would never get those big projects done! Maybe I could make a small flag out of tshirts – that would be cool!!
LikeLike
I would be happy to help with a small flag in any way … measuring and cutting, stenciling stars and whatever else. I’ve seen some people just leave the stripes plain and it still looks good (and takes a lot less time).
LikeLike